Google Slides can easily be embedded in any website by using the code provided in the File > Publish to the web… menu.
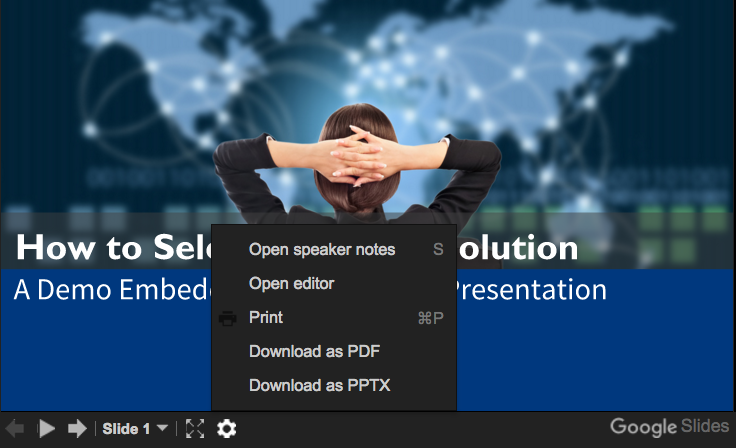
By default, there’s a set of controls at the bottom of an embedded Slides presentation that diminishes the website animation effect. The controls provide multiple options including downloading the Slides as a PDF or PPTX file.
However, the controls can be hidden with a simple div tag. We found some suggestions for div tag specifics in this Google Docs Help Forum post.
With embeds of live Google Slides presentations, any changes you make to the slides themselves or to transition settings will immediately update on your website. That means you can edit some of your website content simply by making changes to Google Slides.
Here are four ways you can use Google Slides to add animation to your website.
Loop a Standard Google Slides Presentation
We used HubSpot’s royalty-free photos to add a high-resolution image background to every slide in the below presentation. We also used a technique that we described in this blog post to overlay translucent rectangles and circles along with text.
The following is the text in WordPress that we used to display the Google Slides presentation that you see right below it. The bolded part is instructions to start automatically, loop the presentation, and advance to the next slide every five seconds.
Setting the right width and height in the div tag and in the embed code involved some trial and error.
<div style="margin: 0 auto; width: 99%; height: 330px; overflow: hidden;">
 <iframe src="https://docs.google.com/presentation/d/1RDGjVTJvAgcxX1QYcajUiHKDNiV3f_U4LQxt2J2LOPc/embed?start=true&loop=true&delayms=5000" frameborder="0" width="588" height="358" ></iframe>
 </div>
Loop Customer Testimonials
For this embed, in Google Slides, we went to File > Page Setup… > Custom and set the dimension to 960 x 240 pixels.
We then went to Slide > Change Transition… and applied Gallery to all slides. We set the speed to Medium.
Note that we could not completely eliminate the black border in WordPress. If you discover a way to do this, please comment below.
Slide Customer Logos
This is a variation of the Loop Customer Testimonials above, with two transition changes.
Under Slide > Change Transition… we applied Slide from left to all slides. We set the speed to halfway between Medium and Fast.
These are not actually our customers — just some logos that we added to Google Slides.
Add Motion to a Banner Call to Action
You can test adding some subtle animation to an end-of-post banner call to action to see if that increases conversions. We say ‘subtle’ — as too much animation might cause the opposite of the desired effect.
We used three slides. The only difference among the slides is the number of “>” characters to the right of the button text.
Since it’s difficult to completely eliminate the black border, the cheat we used was to set a black background on the CTA slides. Incidentally, the GET STARTED button is active. We added the same link to the button on each of the three slides.